
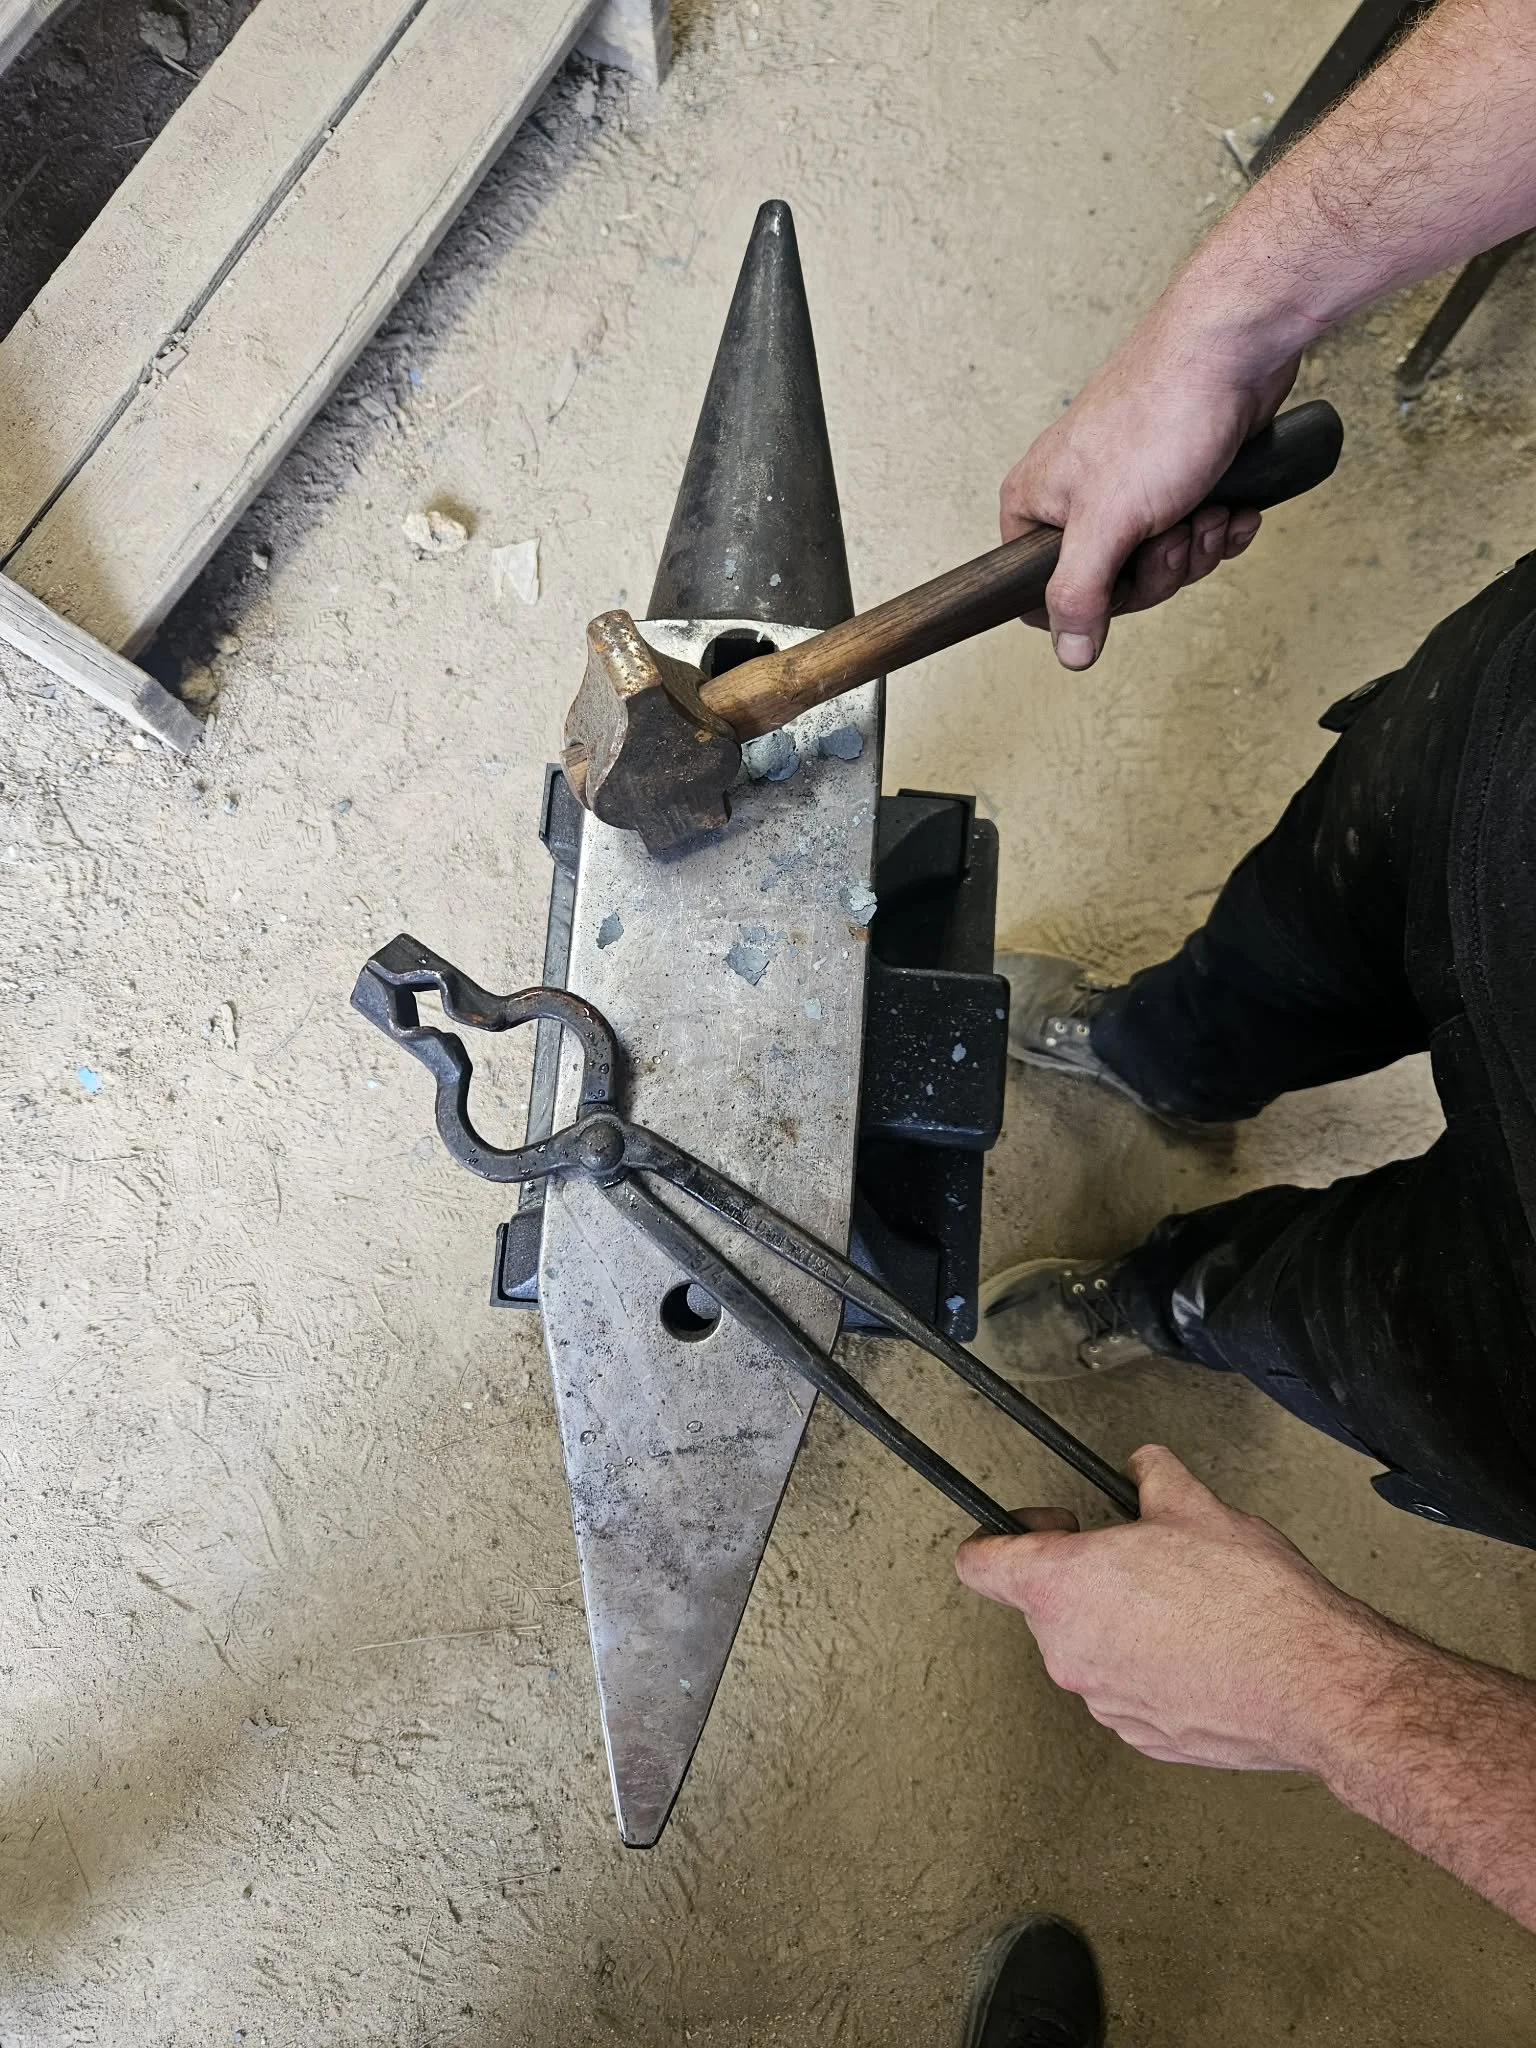
When people ask me what tools they need to start blacksmithing, they’re often expecting a long shopping list and a big price tag. The truth is, you don’t need a museum-worthy forge or a hundred specialty tools to begin. You need a solid foundation, a few reliable tools, and the willingness to learn by doing.
This checklist is written from experience, what I consider the true basics for someone starting their blacksmithing journey.
1. A Safe Place to Work
Before tools, you need a workspace.
Non-flammable ground (concrete, dirt, gravel)
Good ventilation
Plenty of clearance around hot metal
A fire extinguisher nearby (non-negotiable)
You don’t need a full shop. Many great smiths start in a driveway, backyard, or open shed. Safety and airflow matter more than aesthetics.
2. The Anvil (or Anvil Substitute)
The anvil is the heart of the shop. It doesn’t have to be fancy.
What you need:
A solid steel surface
As much mass as you can reasonably afford
Proper mounting at knuckle height. Knuckle height is when you stand up straight with your arms relaxed at your sides. The top of the anvil should align with your knuckles.
Options:
Traditional anvil (London or European pattern)
Steel block or forklift tine
Rail anvil (not ideal, but workable)
What matters most: rebound and stability. A 100 lb anvil used well beats a 300 lb anvil that’s poorly mounted.
3. A Forge (Fire Comes Next)
You need a controlled heat source to bring steel to forging temperature.
Beginner options:
Propane forge (most common today)
Coal or charcoal forge (more traditional, more learning curve)
Key considerations:
Consistent heat
Proper ventilation
Safe fuel handling
Don’t chase the biggest forge you can buy. Small forges heat faster, cost less, and teach heat control more effectively.
4. Hammers (Just One or Two)
You don’t need a wall of hammers… yet.
Start with:
2–2.5 lb cross peen or rounding hammer
Comfortable handle (this matters more than brand)
Your hammer should feel like an extension of your arm. If it’s too heavy, your technique will suffer, and your elbows will pay the price.
5. Tongs (Holding Hot Steel)
If you only buy one type of tong to start with, wolf jaw tongs are an excellent option as they hold a variety of shapes and sizes well.
I recommend checking out Blacksmiths Depot for purchasing tongs.
You need:
At least one reliable pair
A secure grip on hot material
As your projects grow, your tong collection will too. Every smith eventually forges their own—and that’s a milestone worth earning.
6. A Solid Vise
A post vise (leg vise) is ideal, but any sturdy vise will get you started.
Uses:
Twisting
Bending
Filing
Holding work for cutting or punching
Mount it solidly. A loose vice is frustrating and unsafe.
7. Cutting Tools
You’ll need a way to cut hot and cold steel.
Basic options:
Hot cut hardy tool
Angle grinder with cut-off wheels
Hacksaw (slow, but useful)
You don’t need every option—just one reliable way to cut your material.
8. Measuring & Layout Tools
Precision matters, even in a craft that looks rough from the outside.
Keep on hand:
Tape measure
Soapstone or chalk
Center punch
Square
Good layout saves time, material, and frustration.
9. Safety Gear (Do Not Skip This)
I’ve been doing this a long time, and I still use my safety gear.
Essentials:
Safety glasses (always)
Hearing protection
Leather gloves (for handling stock, not hammering)
Natural fiber clothing (cotton, wool, leather)
Closed-toe boots
Steel doesn’t care how experienced you are.
10. Steel to Practice On
Mild steel is your best teacher.
Look for:
1/4"–3/8" square or flat bar
Known, consistent material
Scrap yards or steel suppliers
Avoid mystery steel when you’re learning. Consistency helps you understand what the metal is doing.
Final Thoughts from the Forge
You don’t need everything on day one. Blacksmithing is a craft built over time—tool by tool, skill by skill. Start simple. Learn how hot steel moves. Pay attention to your hammer control and heat management.
The most important tools aren’t on this list:
Patience
Curiosity
Respect for the craft
If you’ve got those, the rest will come—one hammer blow at a time.